In creating artwork what type of tools have you used? In using these tools how did they help your work along? Explain their function and purpose.
How has your knowledge and understanding of tools changed since the beginning of the semester? Talk about your growth of understanding.
Describe a project where the choices you made regarding material, size, technique, etc helped enhance this project. |
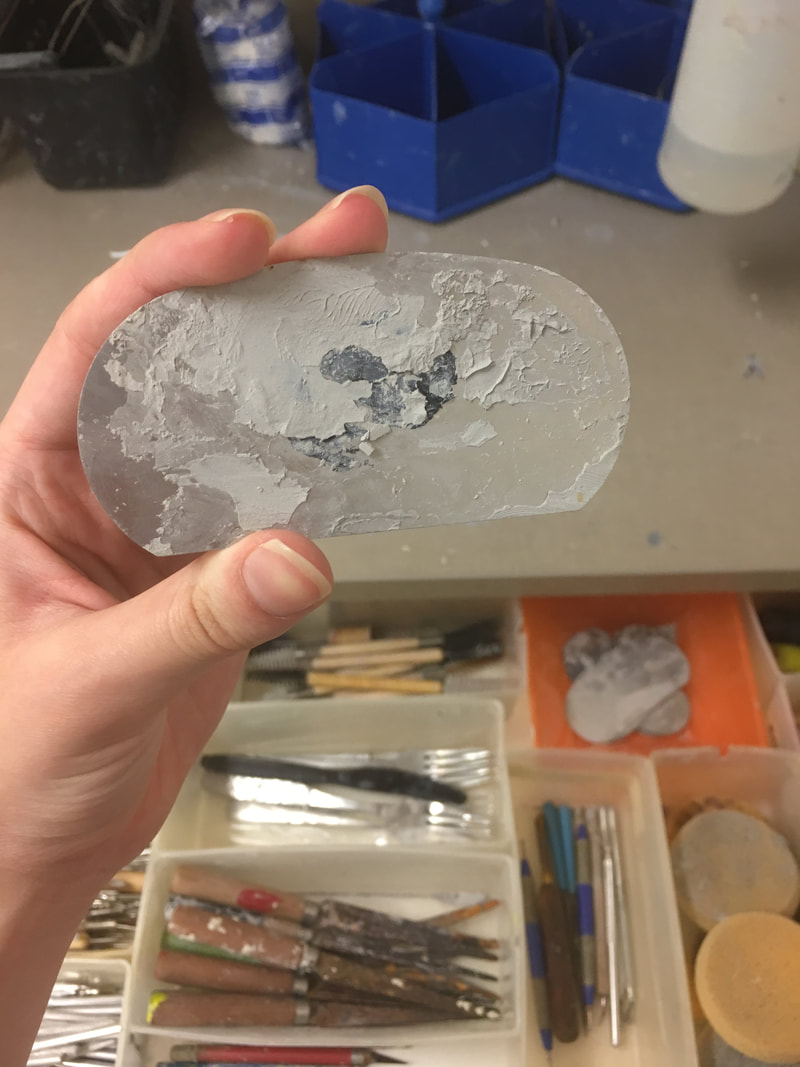
| I think that my tray set project was one project where my choice of technique really helped it. I used underglaze on both of the pieces, and I used the sgraffito technique on the cup. I think that the plate benefited from the underglaze because I was able to use pure black and orange, glazes we didn’t have. The cup in particular benefitted from the underglaze because I was able to use the sgraffito technique. Since I was trying to do a space scene, the white and black ended up giving it a cool effect. | |
What did you find most difficult about this class? This could be anything from gathering materials, to generating projects ideas, to applying a particular technique. What could be done to resolve this issue in the future?
| I think the most difficult thing was trying to apply my ideas. Generating ideas has always been easy for me to do, but when I have to actually make the project, it never comes out as good as what I imagine. I think the best thing for it is more practice with clay, so that I can learn to shape things in the way I want and know what changes have to be made to them. I also sometimes bite off more than I can chew, and I need to realize when some ideas are simply too much to take on, and they’re beyond my skill set. | 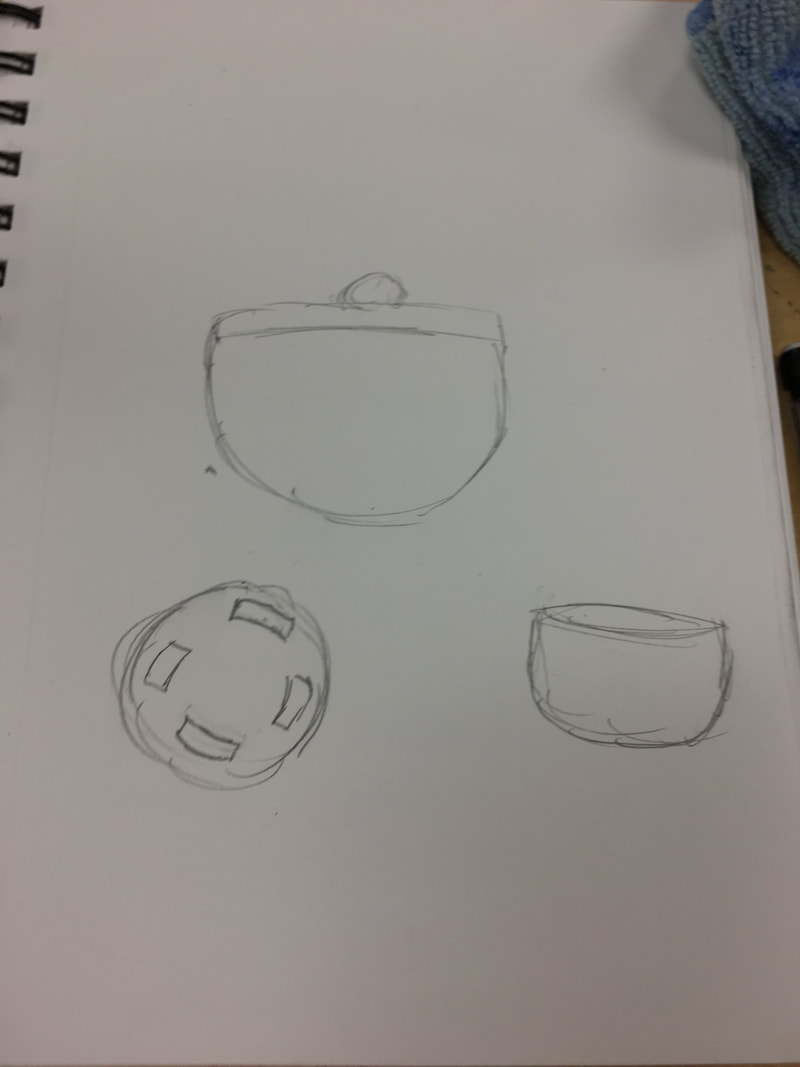 |
Regardless of whether you liked or disliked a project, which one did you learn, grow, or developed the most from? Please explain.
| I think the project that I learned the most from was our sgraffito project. I learned that I like using underglazes and I like the contrast between black and white. I think I really grew in this project because I just sculpted the piece without coiling or slabs, and I was able to figure out how to make the otter body through trial and error. I think this project was one where I was able to plan it out and apply my plan into something that most closely resembles what I was envisioning. Overall, I think my clay skills benefited from doing this, and had I never done this project, I wouldn’t have been able to find out my preferences with clay or been able to make other pieces in the same sgraffito style, such as my star wars cup. | |
0 Comments
https://docs.google.com/presentation/d/17tLsF0Yn3Tu_ci-a1HgumZajKyB5SQNWnHOwPGgPbao/edit?usp=sharing
If this link doesn't work, I also shared the presentation with you on Google Drive
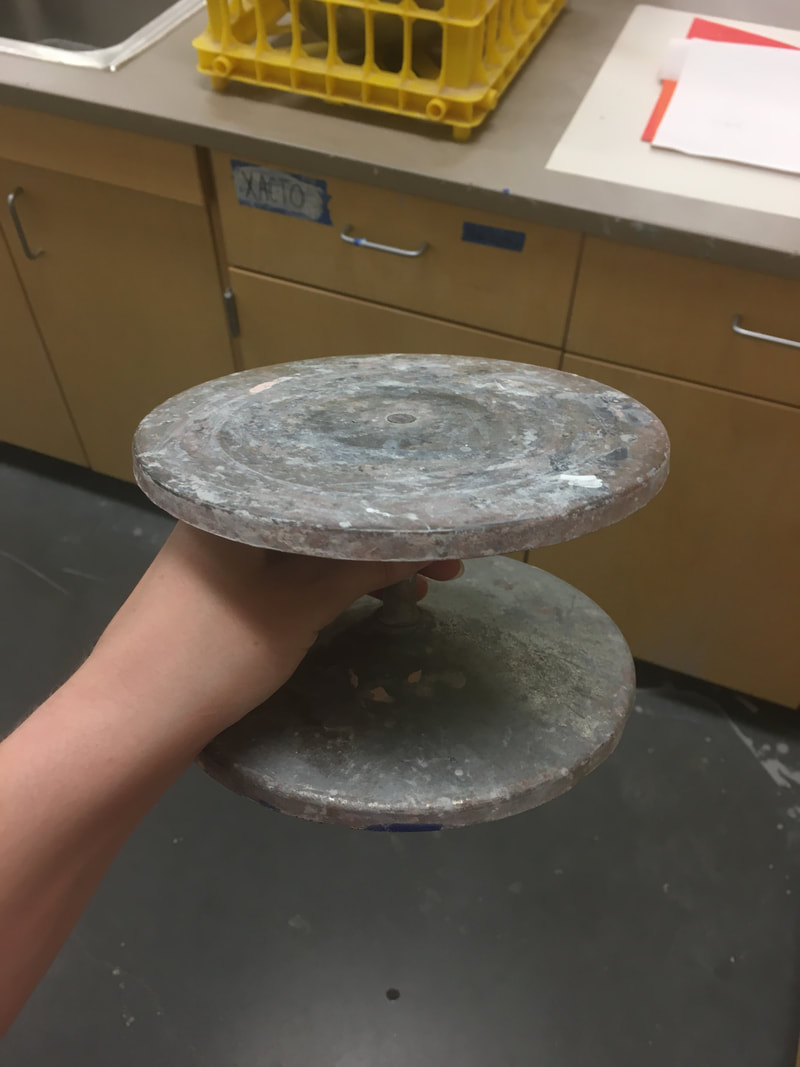
What is your tray set used for? How does your design make it used for that?
My tray set can be used as a plate and a sauce holder, not a shot glass, as my teacher pointed out. I guess you could use the cup as something to drink out of, but it would be kind of ineffective. The BB-8 is flat for the best eating experience, and the cup is shaped to be dippable and holds a decent amount of sauce.
How did you come up with your idea?
My girlfriend really likes Star Wars, and I wanted to make her something that she could use instead of something that just sits around. I also wanted to do sgraffito, which lend itself well to space.
Explain your process and materials. (3 or more sentences)
My materials were just clear glaze, underglaze, and clay. I started by making the plate (it was a part of another idea that didn't work out so I didn't have to shape it that much). Then, I made the cup and glazed them both with underglaze. Then, once they were out, I put clear glaze on them and fired them again, and then they were done.
What did you find successful about your tile piece and why?
I think that the bird came out well. I think I did his body well and I love the way the beak piece turned out. I also think his colors look really true to a real life peacock. I also think that coloring the grout was successful because it helps it look more cohesive.
What might you have changed if you were to do it again?
If I were to do it again, I would change the colors on the background, they didn’t turn out like I was hoping they would. I would also make sure that the wood doesn’t warp, since it warped my pieces and then the wood went back to normal
What subject did you pick for each piece and why?
For the pieces, I kept in mind that I was seperating one bird over a whole area, so each piece’s subject was a different part of the peacock.
Explain the process of pit fired ceramics and saggars.
The first step was to make the shape you want out of clay, mostly using a combination of pinch pot and then coils. Then, we had to collect materials that we wanted to put in the saggar. We wrapped the piece in some tin foil and put the materials and chemicals in between the piece and the tin foil. Then, we put it in a trash can and fired it, making sure to trap the oxygen.
How do you feel your piece was successful and how might you change it if you were to make it again?
I think the coils were a good thickness and the bowl itself came out really well, even though it cracked. I would definitely redo the top if I did it again, it doesn't fit that well and looks kind of weird.
What did you burn onto your piece?
I put coffee grounds around the bowl, and eggshells on the top and inside the bowl. I also put some chicken bones around it, but the colors didn't come out since it didn't fire correctly.
Explain the process of paper mache.
I started by building the basic shape with tin foil. Once I had the shape, I did three layers of newspaper to get more of a shape. Then, I used a gummy sculpting concoction to sculpt some of the details and added marbles for eyes. From there I did two more layers of paper towel. Then, I painted it and my boy was done.
How was your piece successful?
I think that the shape was good, and I like how the painting came out. I was trying to go for a more realistic look but still being creative, and I think that the paint did that. I like the different browns and the white spots on the nose and chest. I think it is easy to see what it's supposed to be, so the shape came out alright.
What difficulties did you have with it? Was it the shape? Medium? Layers?
I had a really hard time fitting newspaper and paper towels around the ears and horns. The layers were the hardest part for me. No matter how much I sanded the piece after the layers were on, it was still wrinkly because I had a hard time wrapping the newspaper around some of the body parts. I wanted the final product to be way smoother than it turned out. Not to mention the flour and water mixture felt horrible. If I were to do it again, I'd be more careful about how I put on the newspaper and paper towels.
What parts did you do?
I helped with pretty much all of the parts. I helped with making the ears and face, helped with the newspaper and paper towel layers, and I helped paint the monkey head.
Who was in your group and what did they do?
V and Manserat (not sure how to spell it) were in my group. V helped me with the face sculpting, newspaper and paper towel layers, and mixed the paints/ helped paint it. Manserat was out for a couple of days, so she didn't do as much, but she still helped with the face sculpting in the beginning.
Explain the process of paper mache start to finish.
We wrapped the ball in tin foil, then made facial features out of tin foil. From there we did layers of newspaper, then layers of paper towel. Once it was dried, we painted this bug-eyed abomination.
Explain your process
I sculpted the otter's body and then added the legs and tail. After he was fully sculpted, I glazed him and scratched away the parts that I wanted to be white. After that, I sculpted the shell and glazed it as well, scraping away a different texture. Once they were designed, I did a final clear glaze over them and then my boy was done.
What did you think of the sgraffito process?
I think it isn't as annoying as other people say it is. Yeah, it takes time and multiple glazes, but regular clay pieces do too. I also didn't mind the fact that it was underglaze, you could paint the bottom, which you can't do with normal glaze. I thought it was also nice because it was very methodic, it was more planned out than other clay pieces and you had to do certain steps in a certain order.
How were your pieces successful and how might you change it if you were to do it again?
I think the fur texture was very successful, and I think that his shape was also otter-ish, which is majorly successful. He actually was able to hold the candle, which is something that I was worried about while making him. I would definitely do the face different next time, I had a lot of trouble with it, and I would try to make it so that the arms held the candle by itself a little better.
How did you get your idea? What inspired you?
I got my idea because I wanted to do something that wasn't a tray or a box. I thought of how my mother has a lot of candles at home and that a candle-holder might be useful. I then thought of how sea otters hold shells, so I thought it would be cute for a sea otter to hold a candle instead.
Explain your process so far (from getting the clay to this point)
I wedged some clay and tried to sculpt out the form of the otter. I added the arms and legs next, and I added the tail last. I then had to dry the clay out so it was all the same hardness. Then I covered it with the under glaze and started to scratch away areas that are going to be white. Once I got the fur texture on, I added more glaze on the face to make the eyes and the nose.
Author
Write something about yourself. No need to be fancy, just an overview.
Archives
June 2018
May 2018
April 2018
March 2018
February 2018
January 2018
 RSS Feed
